Creating sprint tasks lists on ClickUp
When creating a new sprint tasks list on ClickUp, we want to make it look like all the other sprint lists, with the same statuses, views, automations and custom field columns.
Find more information about the tasks lists we use on ClickUp on our documentation “ClickUp: Task management system”.
- Go to ClickUp at https://app.clickup.com/ or using the ClickUp application.
- Locate the “Fluid Checkout” folder within the “Products” workspace.
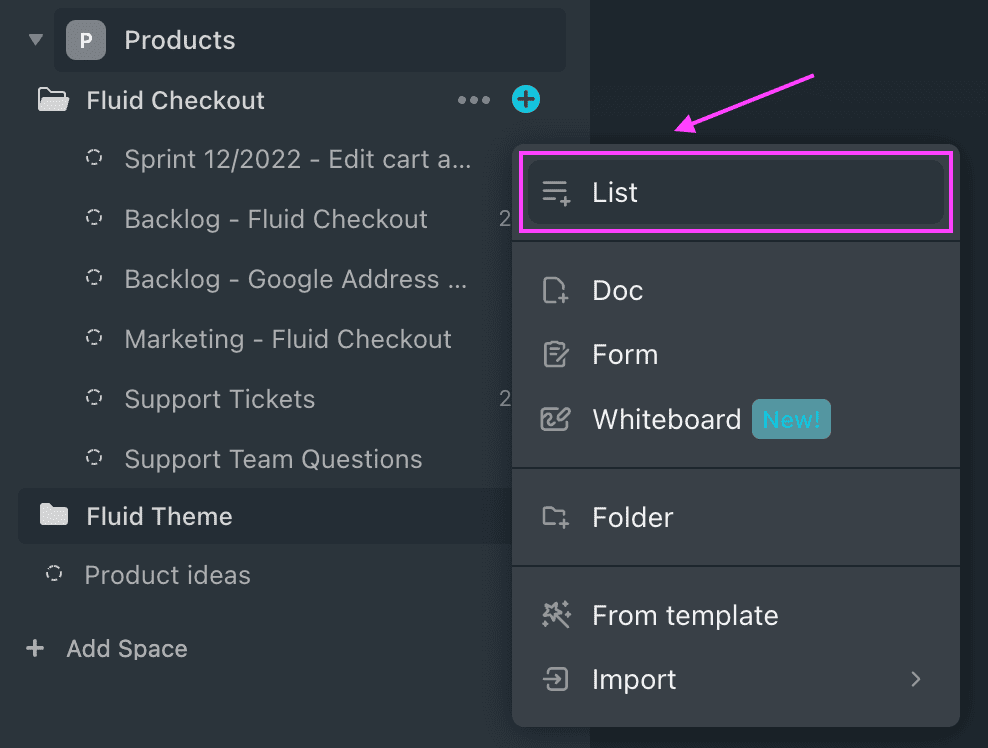
- Choose the option “+” to create a new item (List, Docs and more), then choose the option “List”.

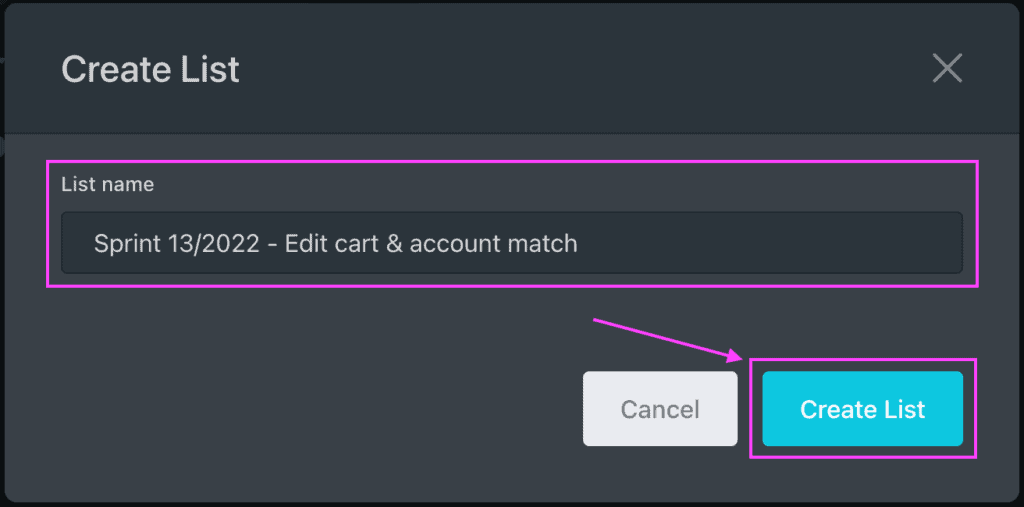
- On the “Create list” screen, enter the name of the new list following the pattern “Sprint – Description of objective”. The “NN” part of the pattern can go from 01 to 13, these almost correspond to each month, but not exactly, as every sprint is exactly 4 weeks (28 days) long.
- Choose the option “Create List”.
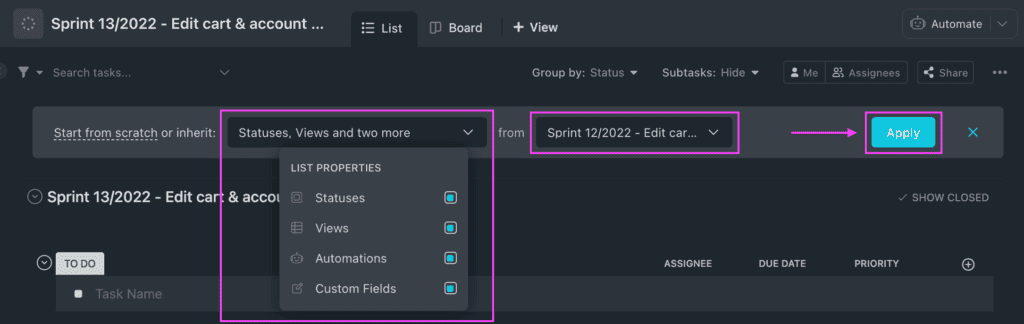
- On the tasks list view for the newly created list, locate the options at the top of the screen where you can choose things to inherit from other lists. Ignore the option to “Start from scratch” as we will be inheriting properties from an existing list.
- Choose to inherit the following list properties: Statuses, Views, Automations, Custom fields, and probably other options if added in future releases of ClickUp.
- Choose the sprint list from which to copy the list properties from. Usually the last sprint that was just finished.
- Choose the option “Apply”.
- Check that the list was created and now has the same layout and structure as the previous list.
