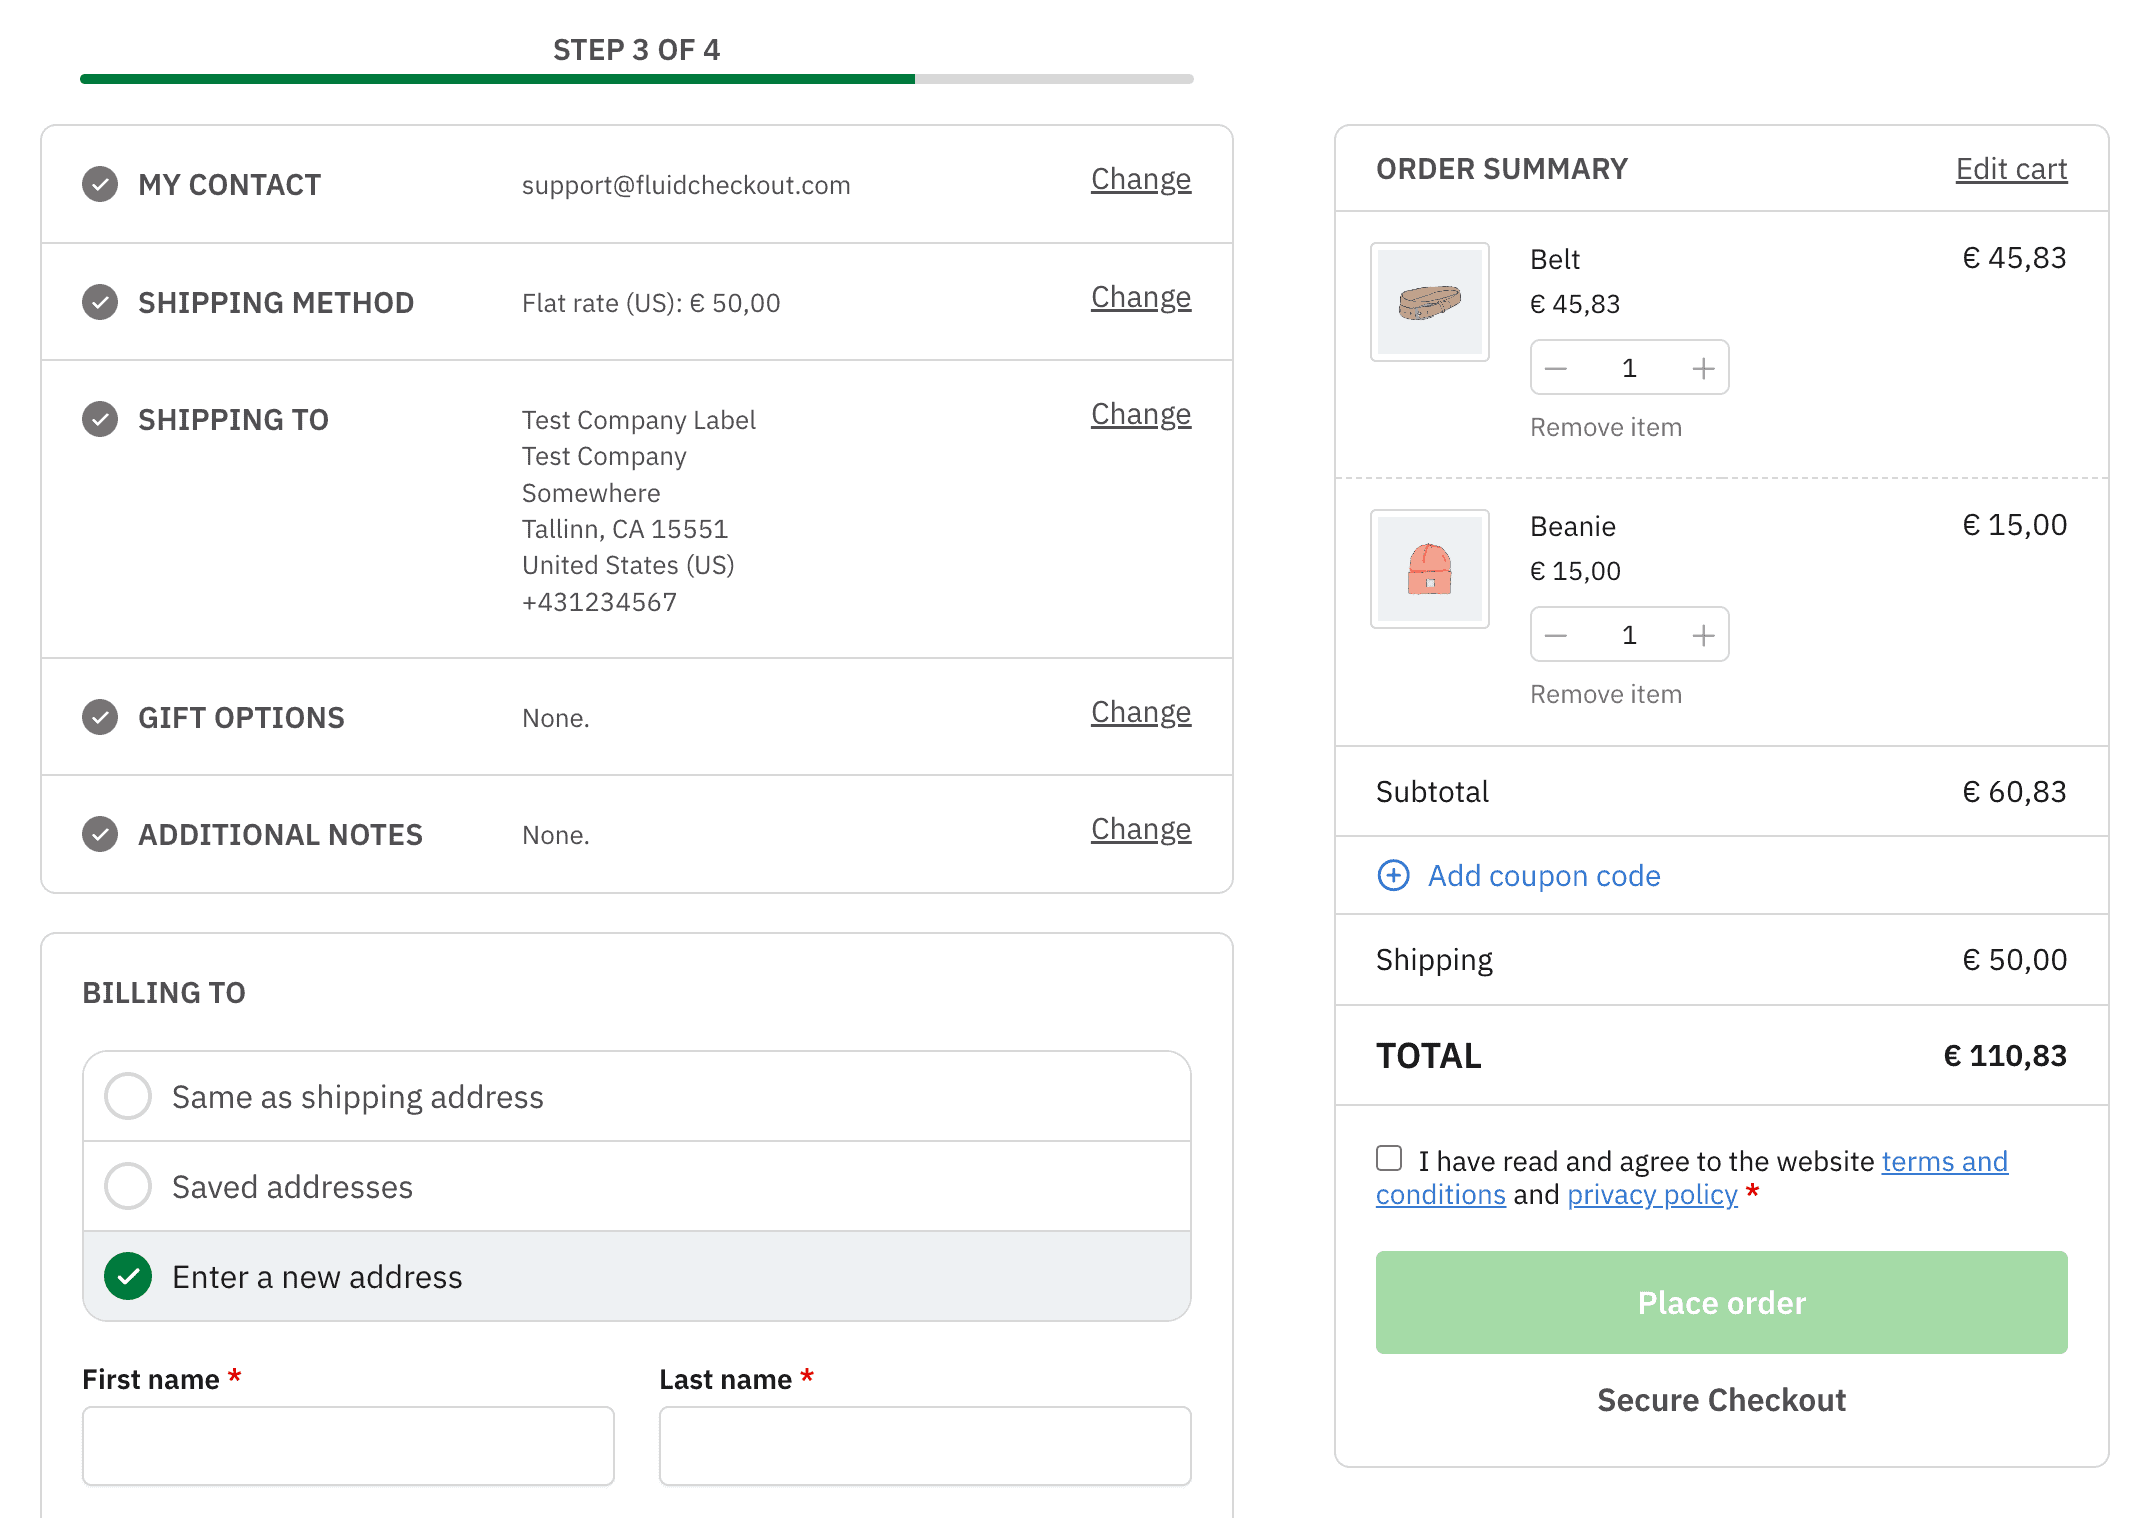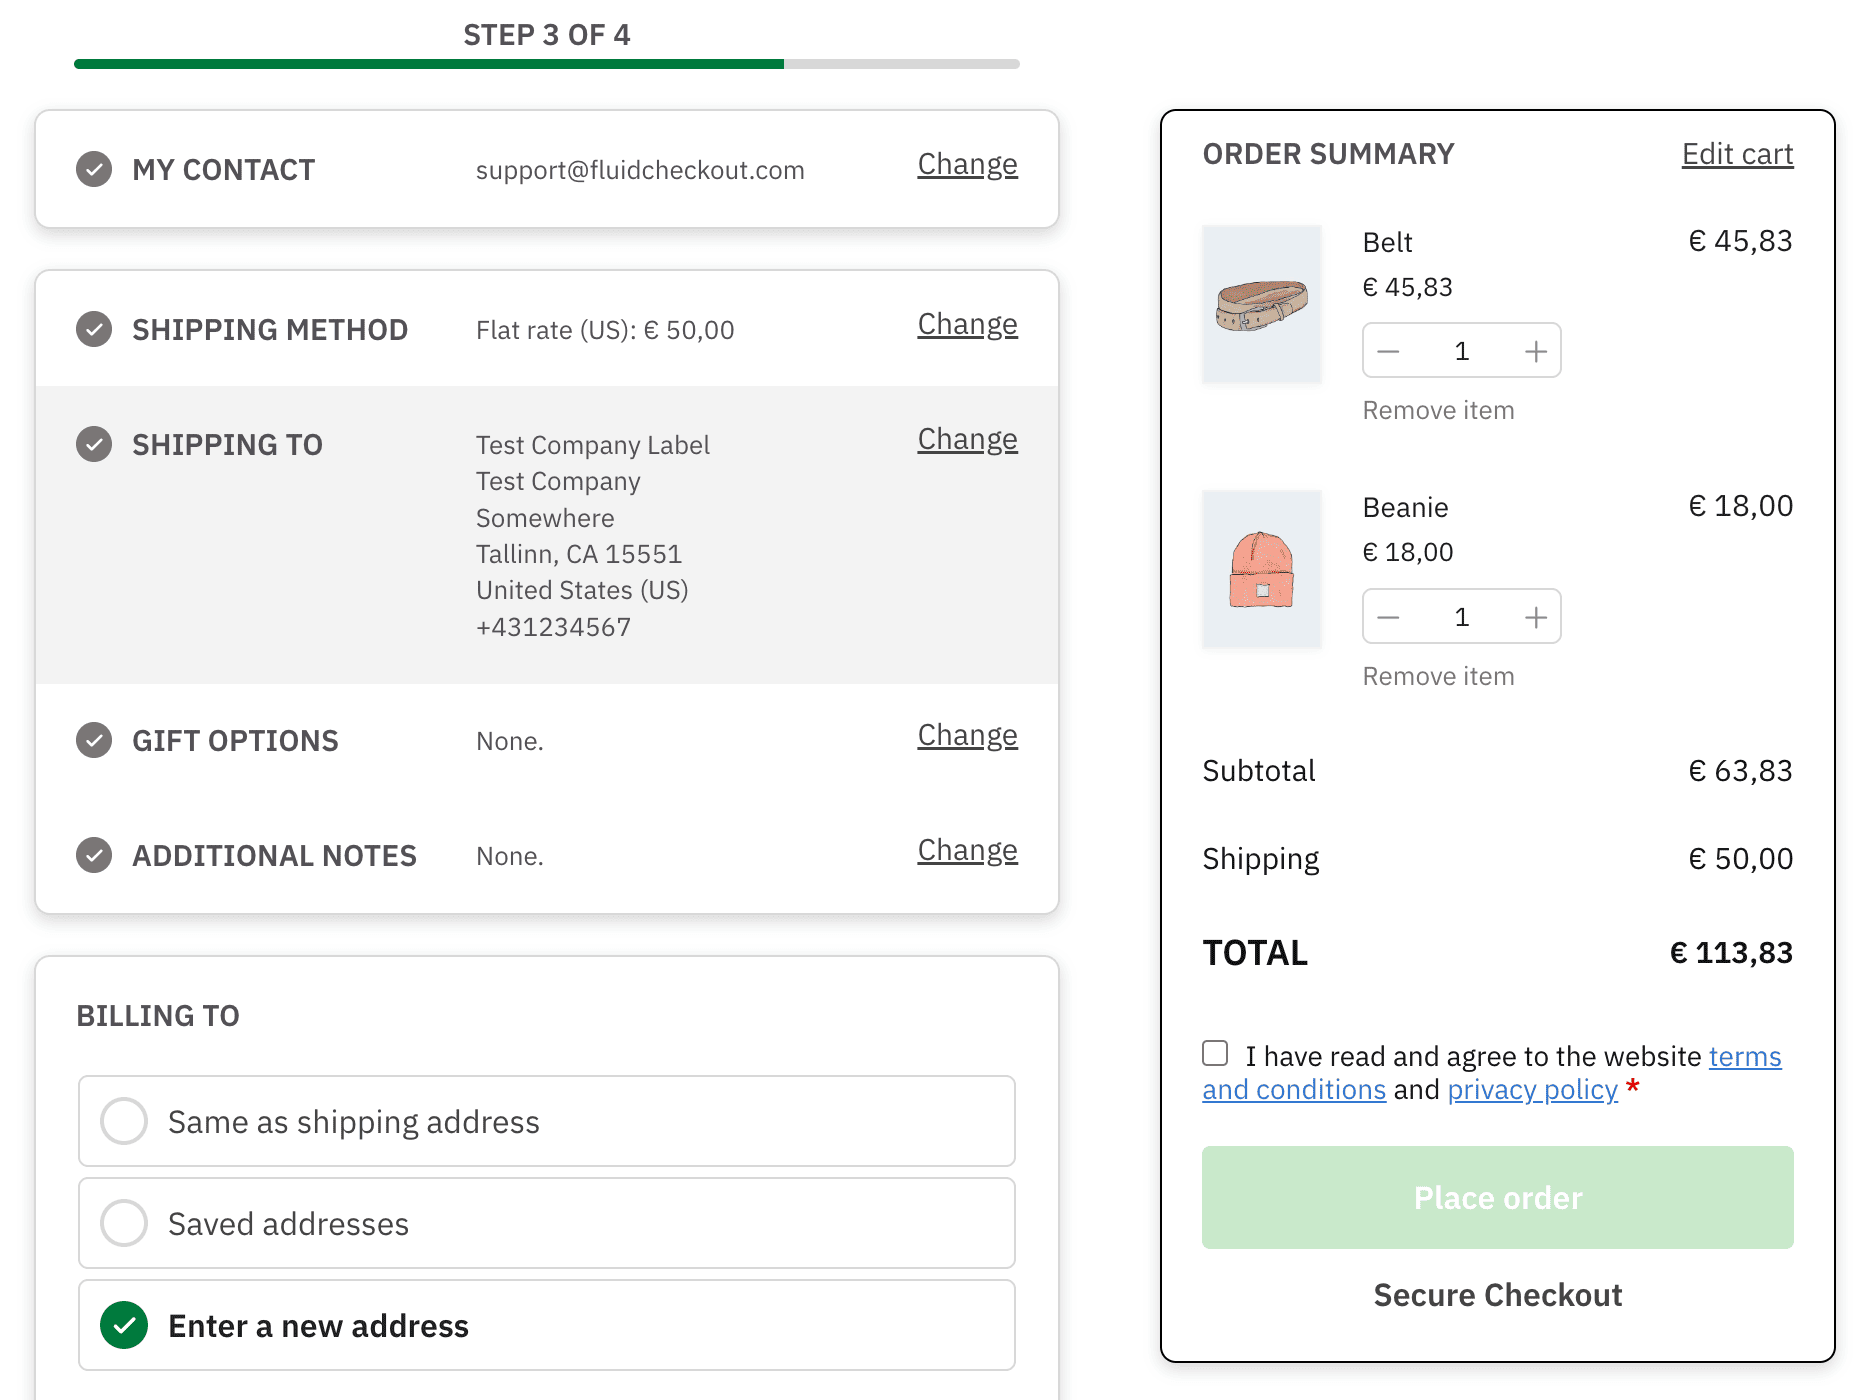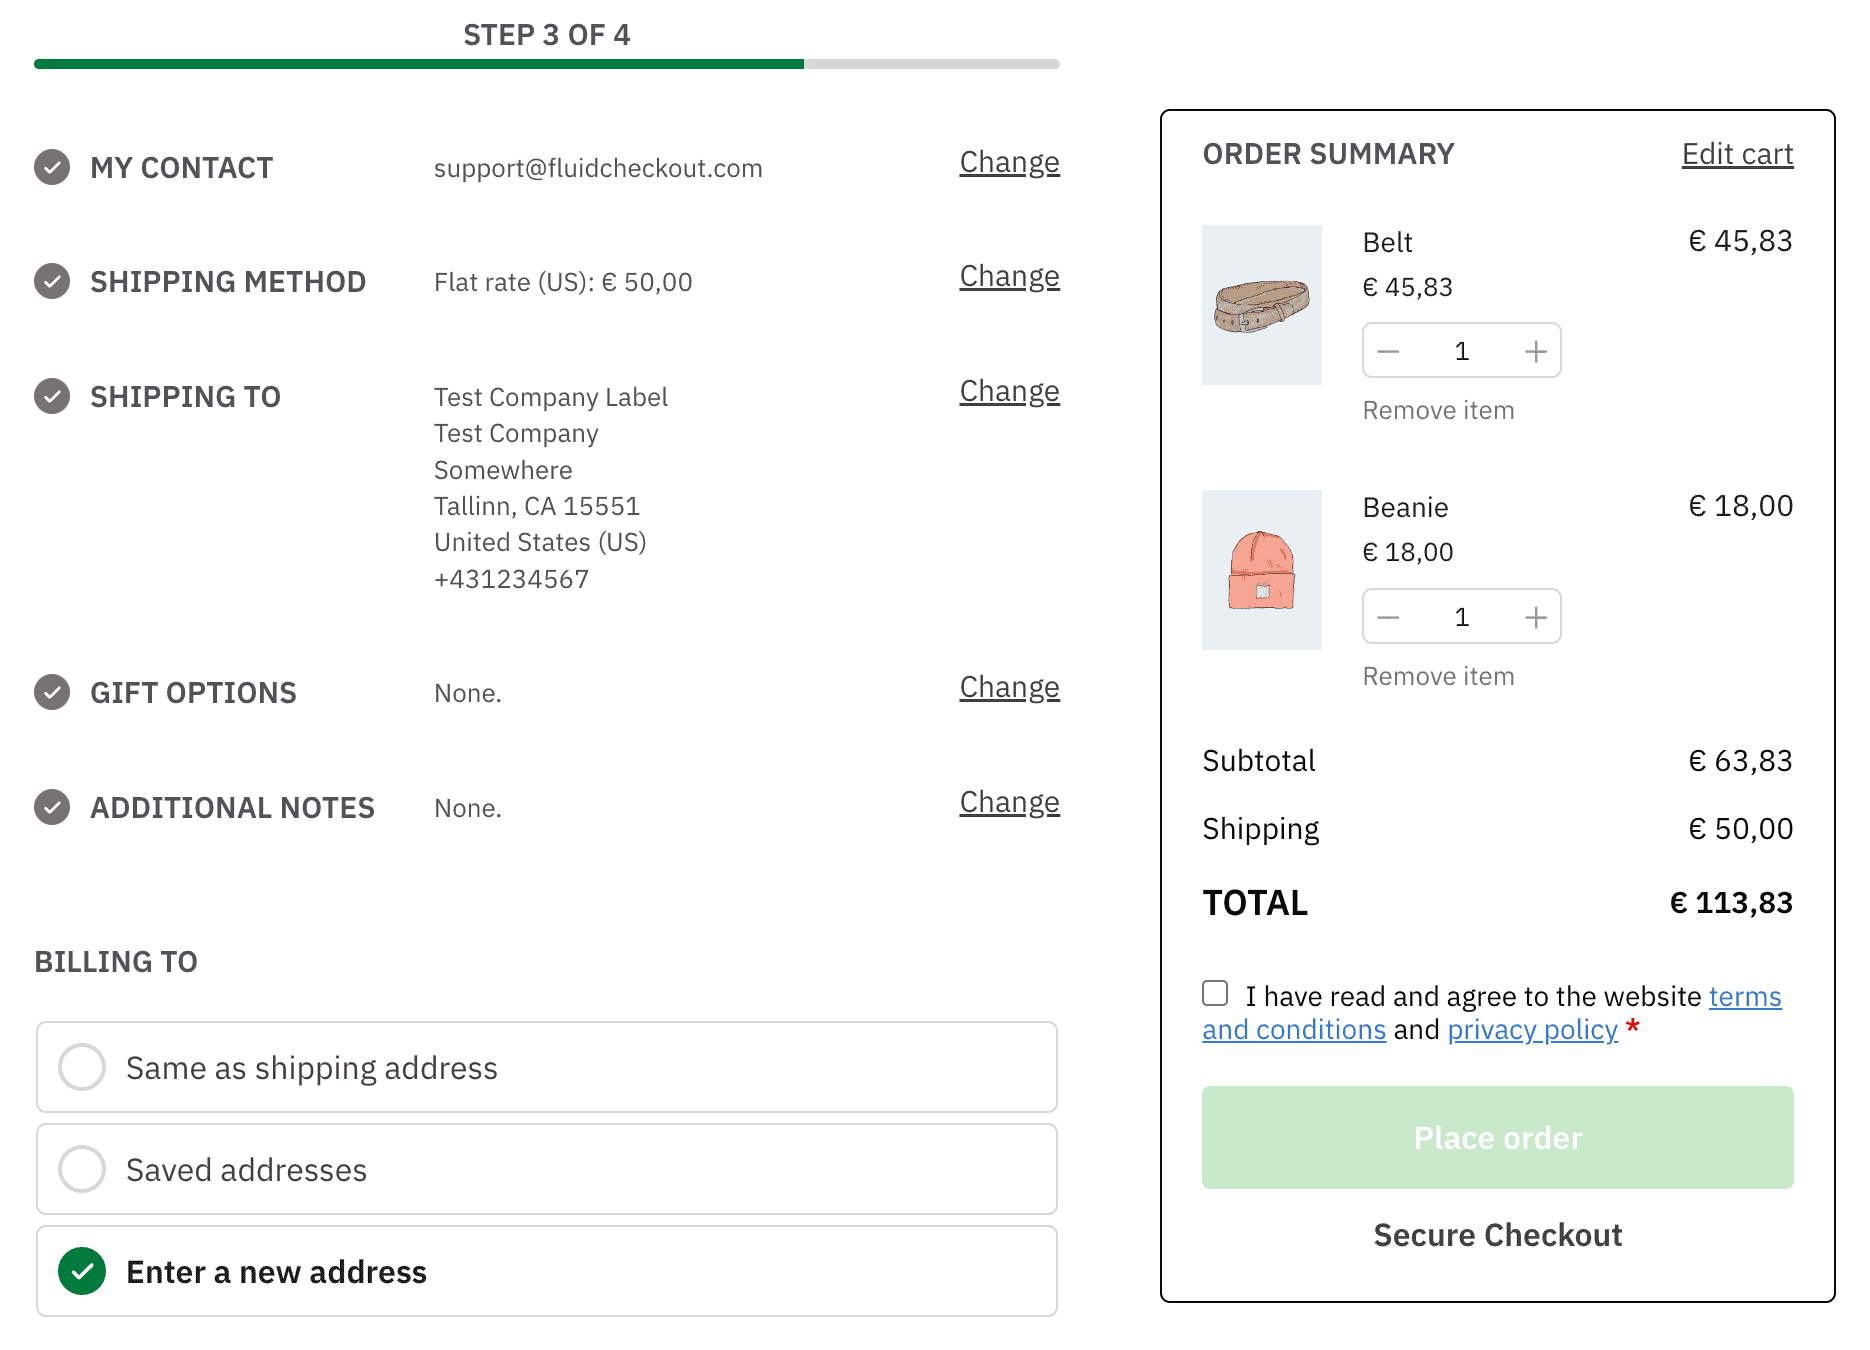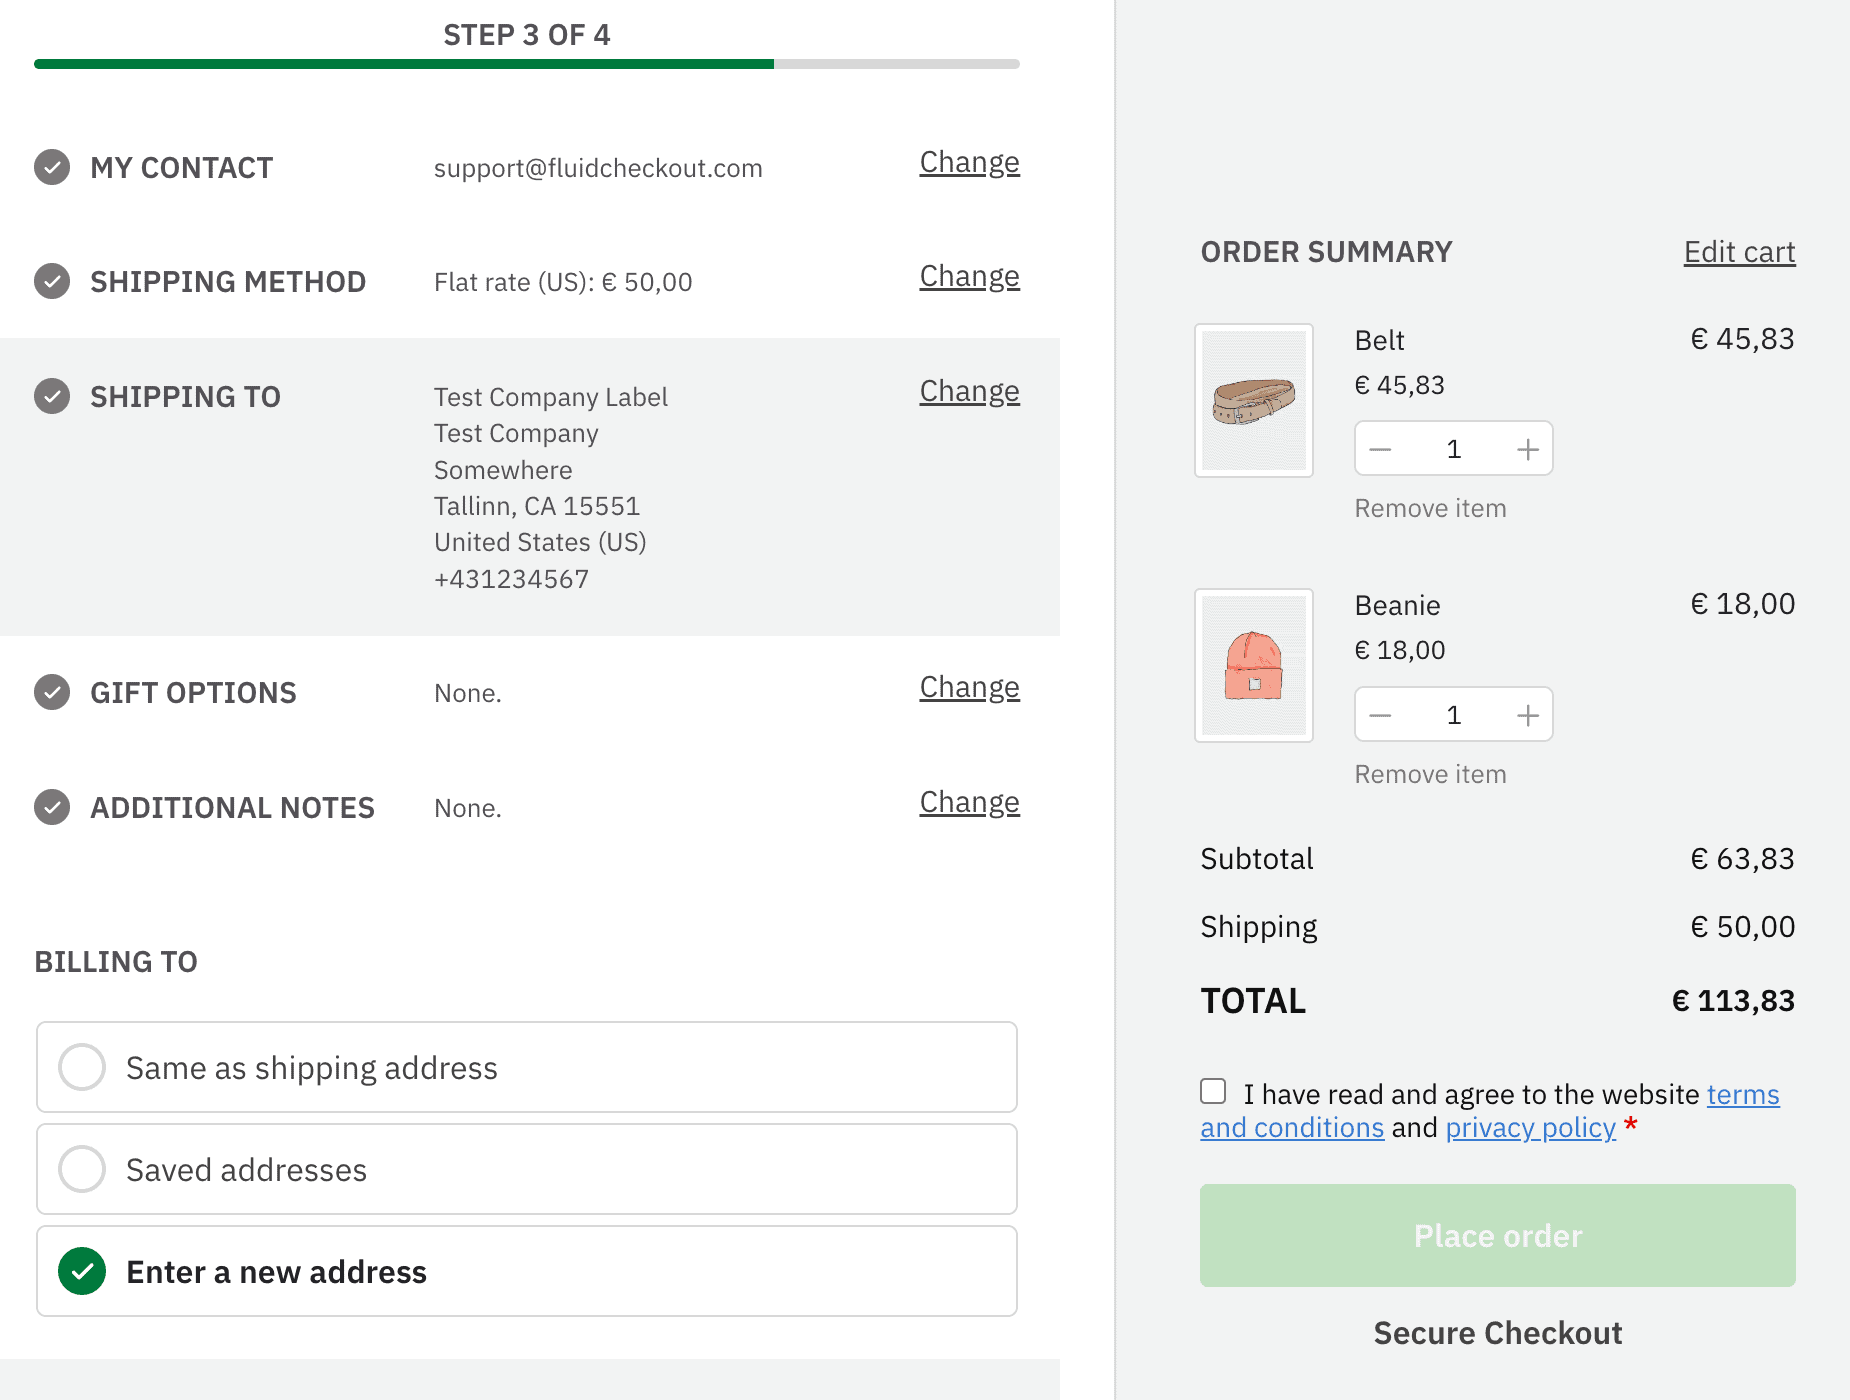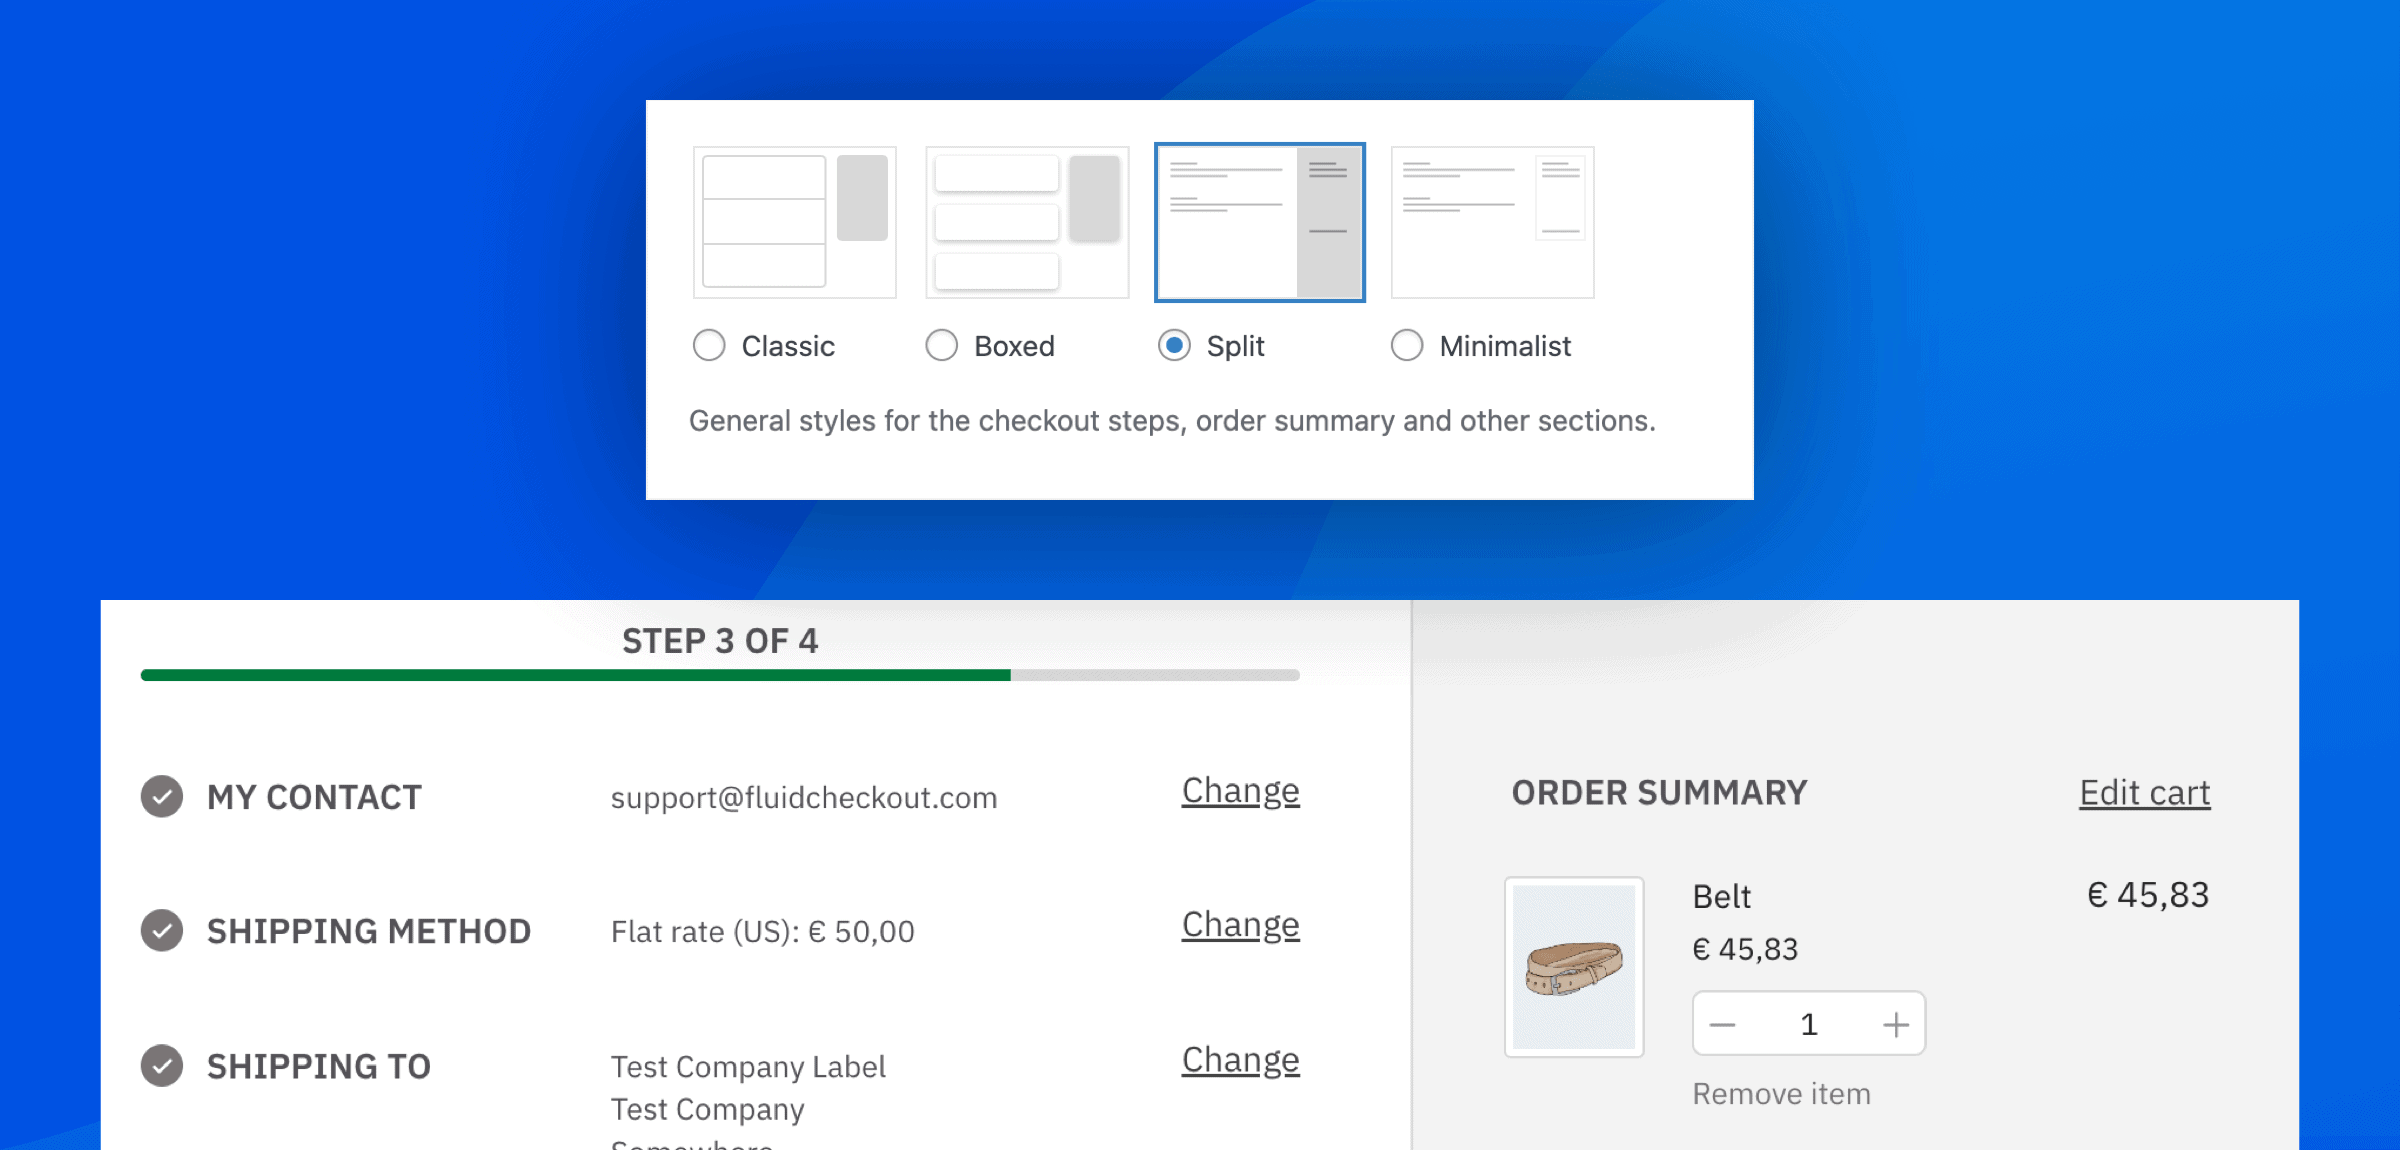
Whether you are looking for a sleeker design or wish you had Shopify’s checkout on your WooCommerce store, with the design templates feature, you have more options to change the look and feel of the checkout page to better match your brand and theme styles.
With Fluid Checkout PRO, you can choose from any of these templates:
- Classic: the default design template for Fluid Checkout — available with Fluid Checkout Lite.
- Boxed: each step has its own separate box when steps are completed.
- Minimalist: removes borders and simplify the overall look of the checkout page. This template looks particularly gorgeous when buttons are black.
- Split: Separate the order summary from the steps with just a line, or add a color to the entire right part of the screen where the order summary is. With this design template, your checkout page will look more similar to that of Shopify.
The overall styles for these design templates apply to all pages optimized with Fluid Checkout PRO: checkout, cart, order received (thank you page) and the view order on the customer account pages.
Please note the “Split” design template is not available when using the “1 column” layout option.
Switch to a different design template #
If you already have Fluid Checkout PRO activated, the design template options will be unlocked in the plugin settings. Go ahead and choose the design template that best matches with your website:
- Go to WP Admin > WooCommerce > Settings > Fluid Checkout.
- Navigate to the sub-tab “Checkout”.
- Locate the “Layout & design” section at the top of the page, then locate the “Design Template” options.
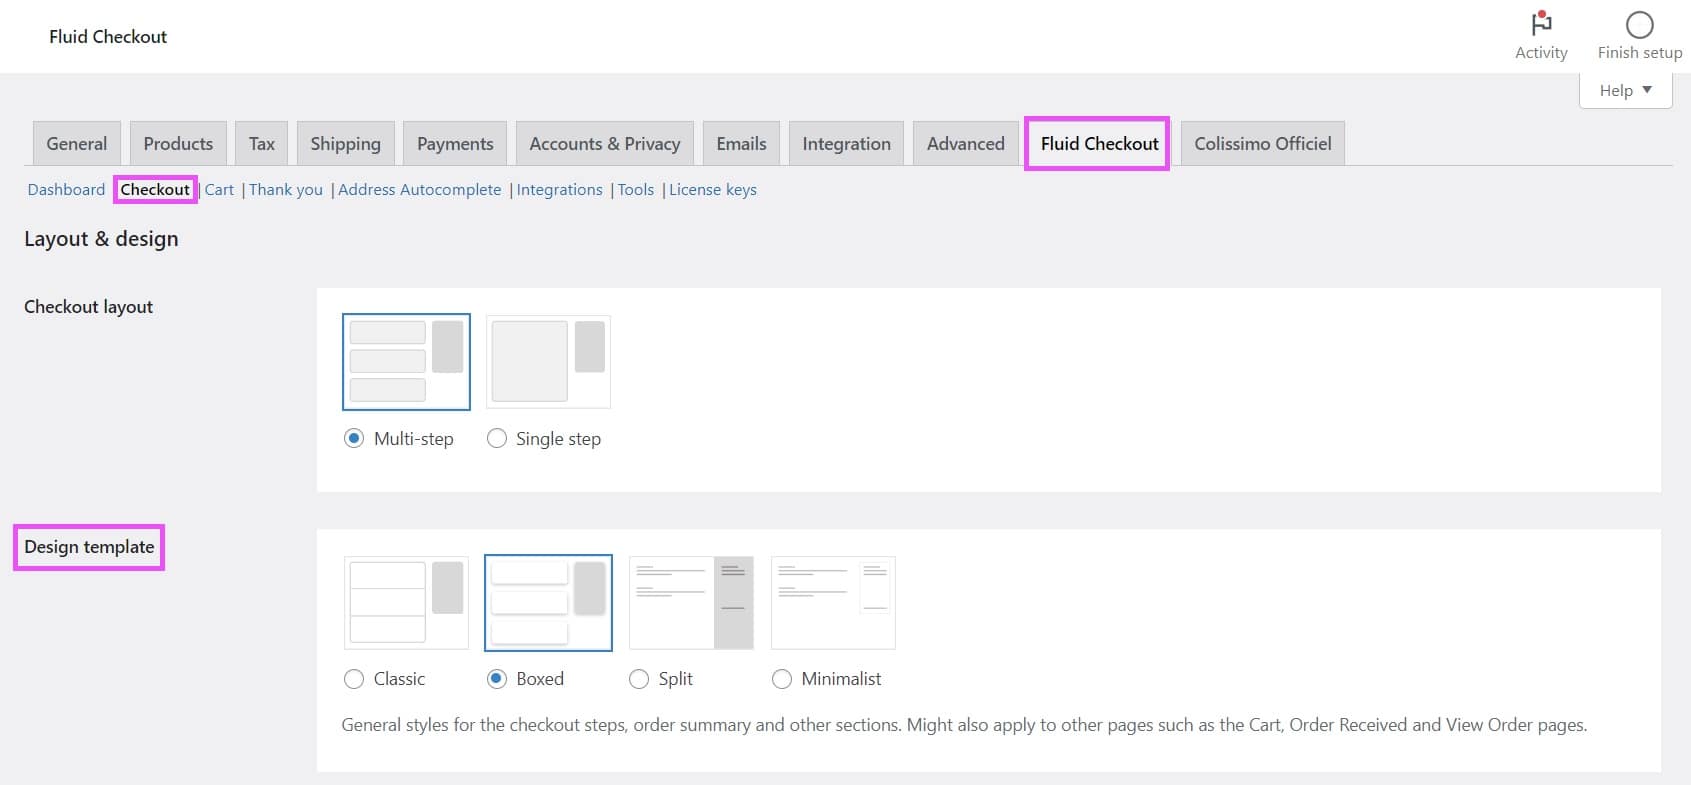
- Select the design template that you want to use.
Please note that only the Classic design template is available with Fluid Checkout Lite, so you will need Fluid Checkout PRO to unlock the other design template options. - Save your changes.
Choose a color for the order summary section #
It is also possible to define any color for the background of the order summary section on the right part of the checkout and cart pages.
This option is particularly interesting if you are using the Split design template as this color will be applied to the entire right part of the page, but might also be interesting to make this section stand out a bit more.
Change the background color of the order summary
- Go to WP Admin > WooCommerce > Settings > Fluid Checkout.
- Locate the section “Checkout elements”, then the sub-section “Order summary”.
- Choose a color to apply to the order summary section, or enter the color code directly.
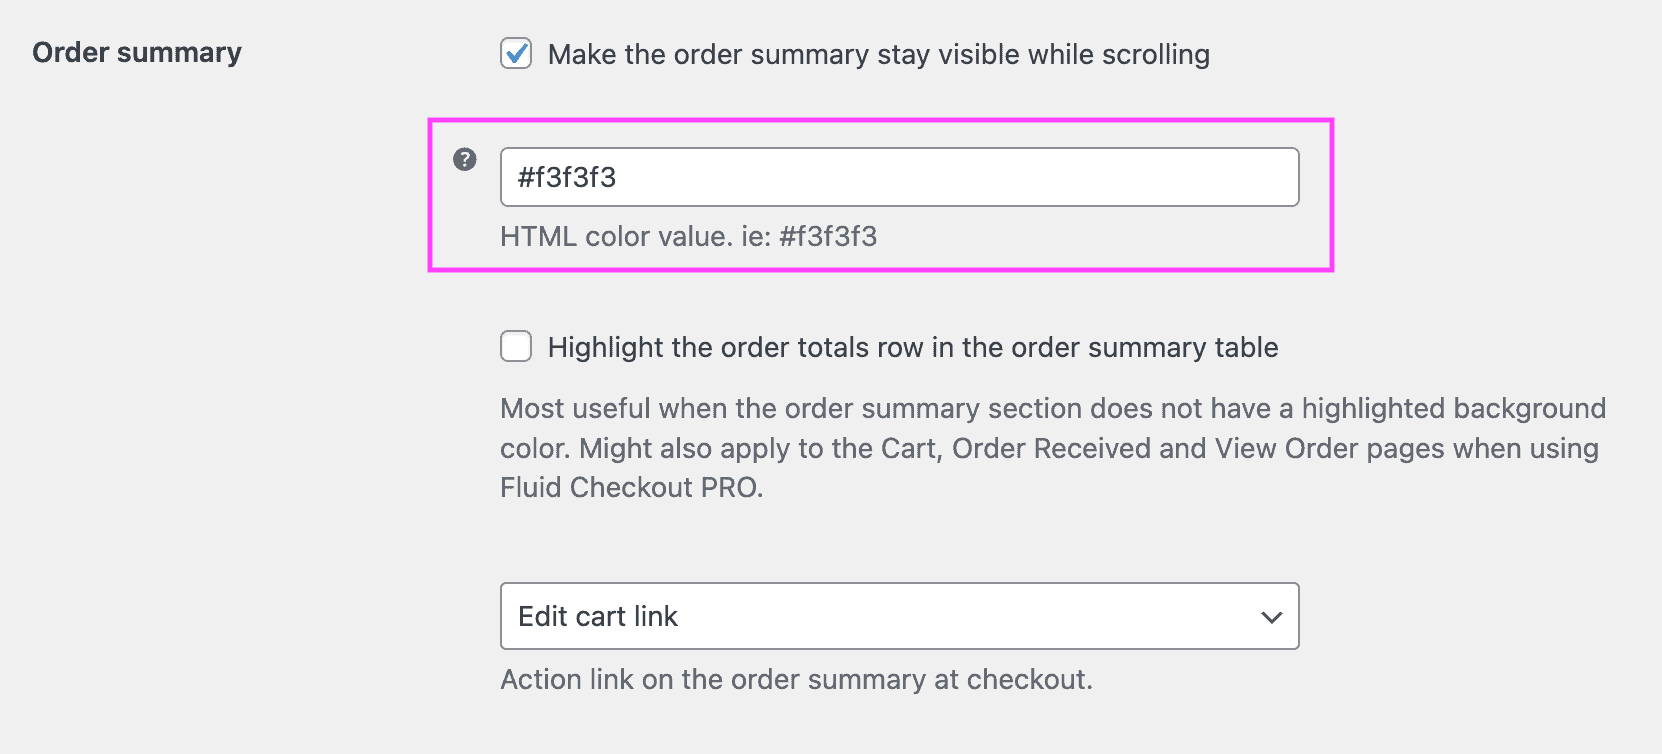
- Save your changes.
Highlight the order total amount line in the order summary #
In some cases, you might want to highlight the order total amount on order summary section with a light grey background color.
Enable highlighting the order total amount line
- Go to WP Admin > WooCommerce > Settings > Fluid Checkout.
- Locate the section “Checkout elements”, then the sub-section “Order summary”.
- Check the option “Highlight the order totals row in the order summary table”.
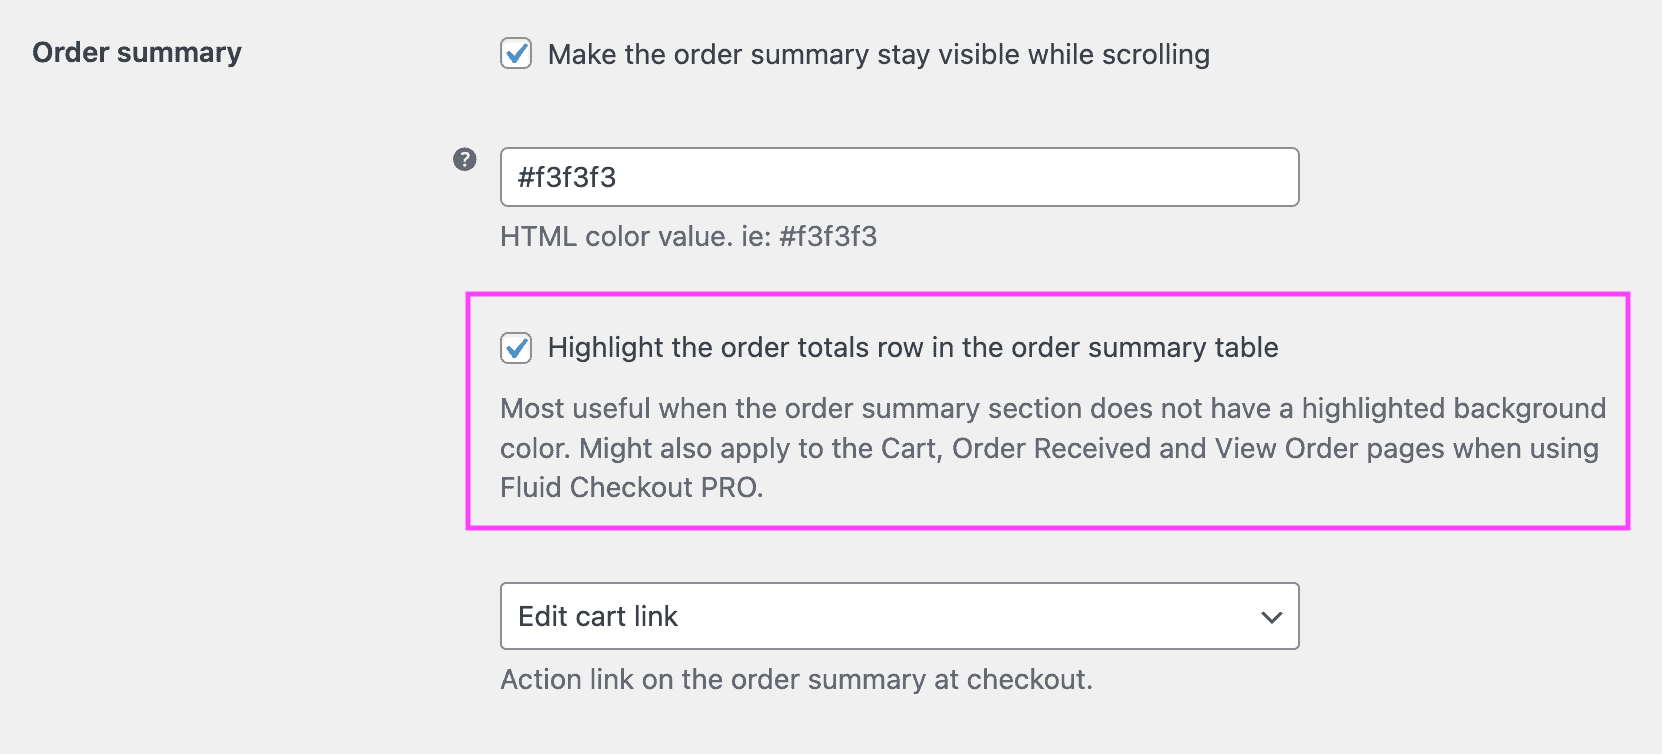
- Save your changes.
Highlight shipping address or billing address sections #
In some cases, you might want to highlight the shipping address or billing address sections on the checkout page with a light grey background color. This might help the customers to see which information they should pay more attention to while filling out the checkout form.
Enable highlighting the address sections
- Go to WP Admin > WooCommerce > Settings > Fluid Checkout.
- Locate the section “Checkout elements”, then the sub-section “Billing address”.
- For the billing address section, check the option “Highlight the billing address section in the checkout form”.
- And, for the shipping address section, check the option “Highlight the shipping address section in the checkout form”.
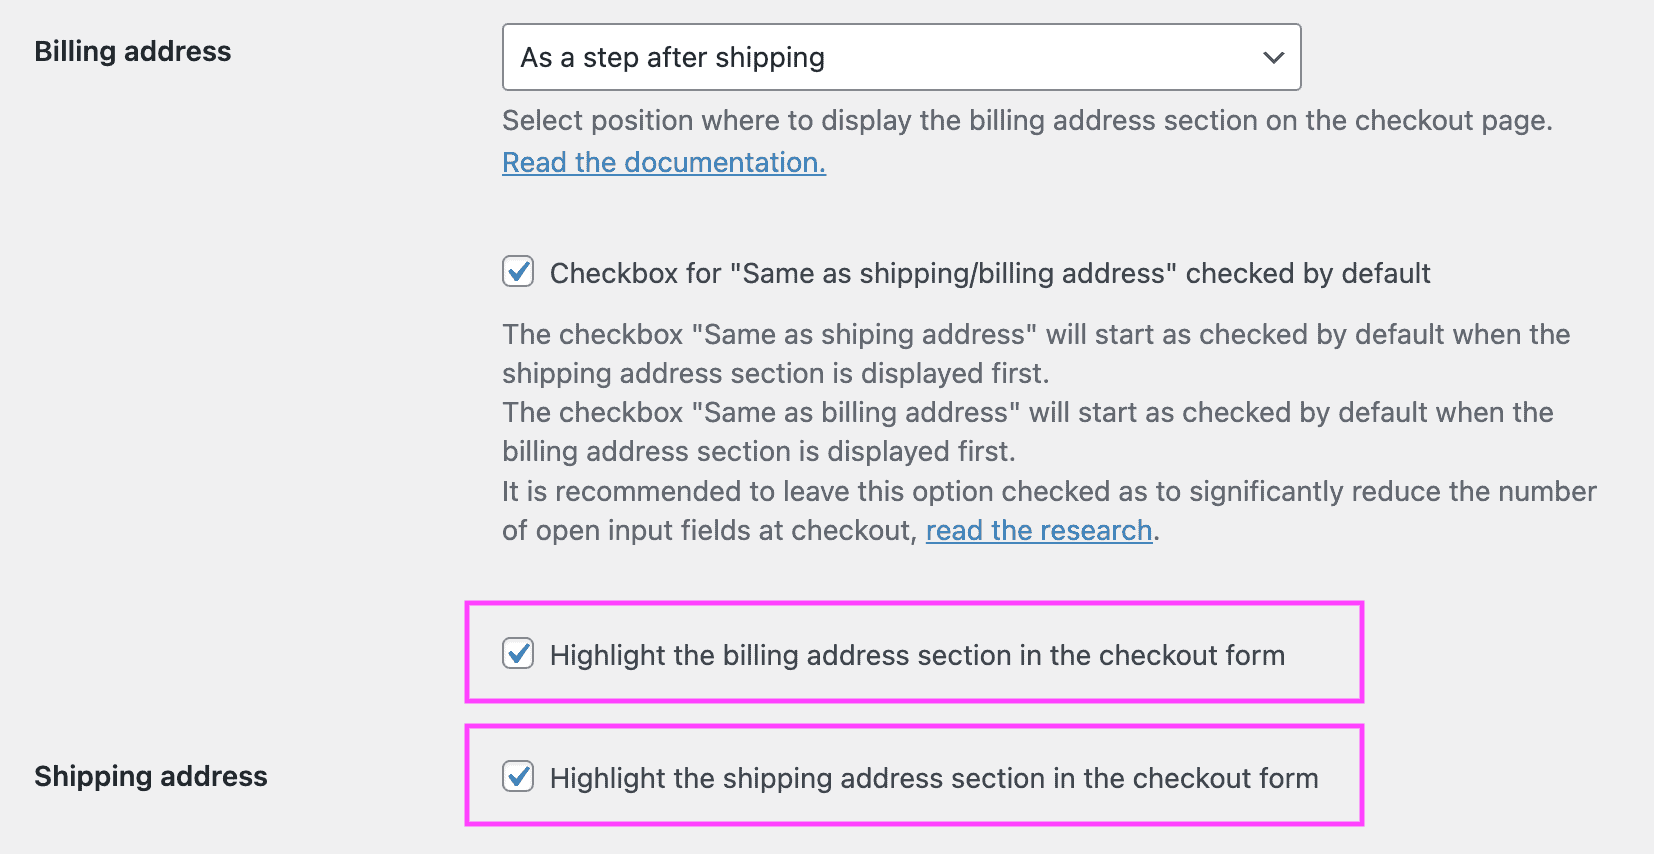
- Save your changes.
How to change WooCommerce checkout page design #
The easiest way to change the WooCommerce checkout page template is to use the design templates feature, however, you can also customize the Classic or any other design template included with the plugin using CSS variables. Using simple CSS variables you can customize colors, borders, rounded corners, product image styles, background colors and even buttons.
These changes will apply to many elements on the checkout page, and on other pages optimized by Fluid Checkout PRO as the cart page, order received, order pay, and view order pages.
Check out these customization guides:

